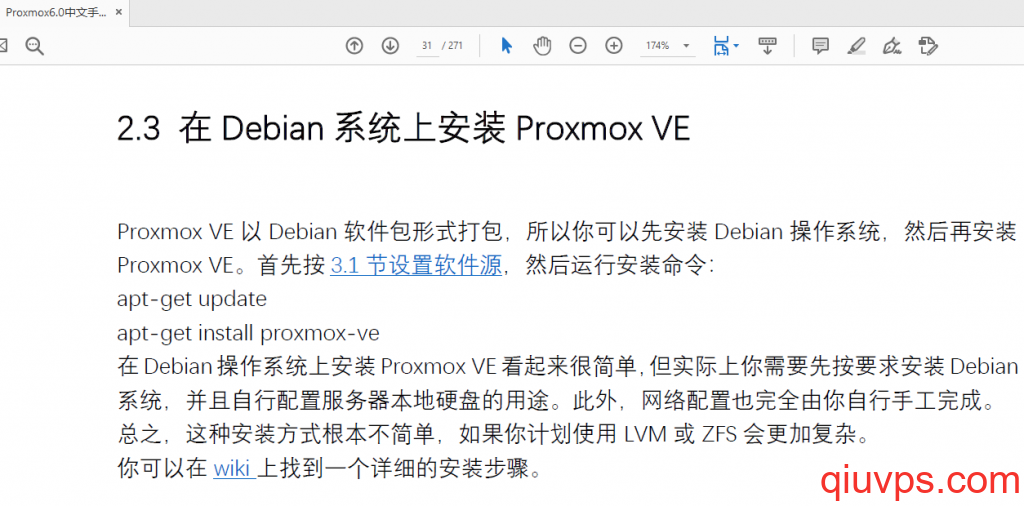
从最开始接触proxmox的版本是proxmox5,后面出过教程debian10基础上安装proxmox6,今年是2024年,教程也需要更新了,刚好有朋友需要proxmox8,今天出一个教程在debian12基础上安装proxmox8。教程直接参考proxmox wiki,https://pve.proxmox.com/wiki/Install_Proxmox_VE_on_Debian_12_Bookworm
1、先修改下主机名,比如原始主机名是debian,想改成prox8,修改下/etc/hosts文件。
root@debian:/etc# nano /etc/hosts
127.0.0.1       localhost
174.139.xx.xx  prox8  prox8

# The following lines are desirable for IPv6 capable hosts
::1     localhost ip6-localhost ip6-loopback
ff02::1 ip6-allnodes
ff02::2 ip6-allrouters
然后再修改下hostname
hostnamectl set-hostname prox8怎么判断hostname修改成功了呢。敲命令查看,看看主机名是否显示成修改后的主机名,以及敲hostname –ip-address是否显示机子IP
root@debian:/etc# hostname
prox8
root@debian:/etc# hostname --ip-address
174.139.xx.xx
然后敲个命令重启下网络,再次进入机子就显示修改后的主机名了。
systemctl restart networking.service

然后再次进入机子
root@prox8:~#
2、敲个命令 Add the Proxmox VE repository:
echo "deb [arch=amd64] http://download.proxmox.com/debian/pve bookworm pve-no-subscription" > /etc/apt/sources.list.d/pve-install-repo.list3、 Add the Proxmox VE repository key as root (or use sudo):
wget https://enterprise.proxmox.com/debian/proxmox-release-bookworm.gpg -O /etc/apt/trusted.gpg.d/proxmox-release-bookworm.gpg 4、更新下系统
apt update && apt full-upgrade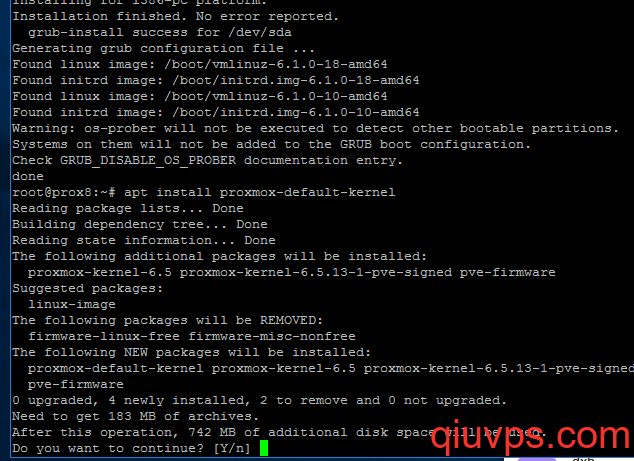
5、安装proxmox内核。
apt install proxmox-default-kernel

systemctl reboot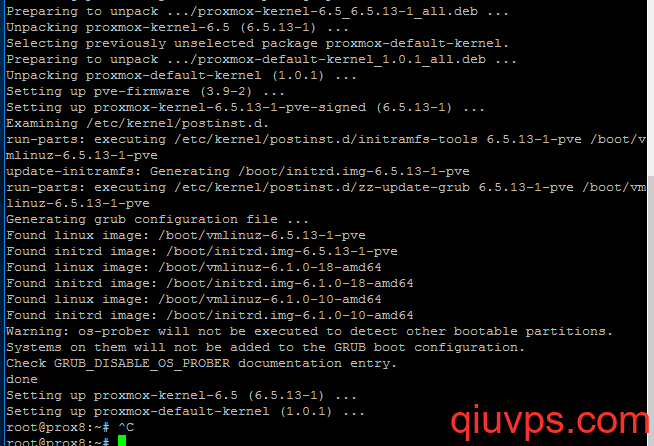
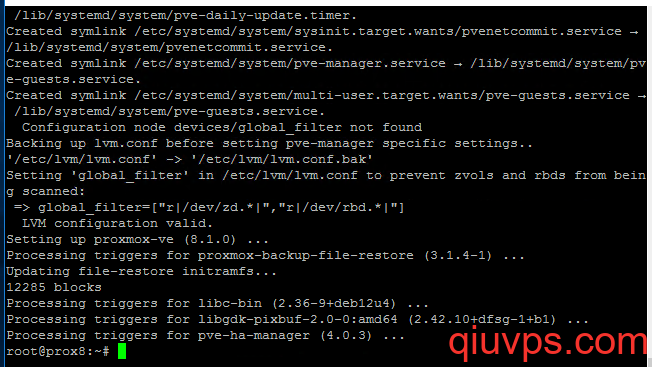
6、安装proxmox软件
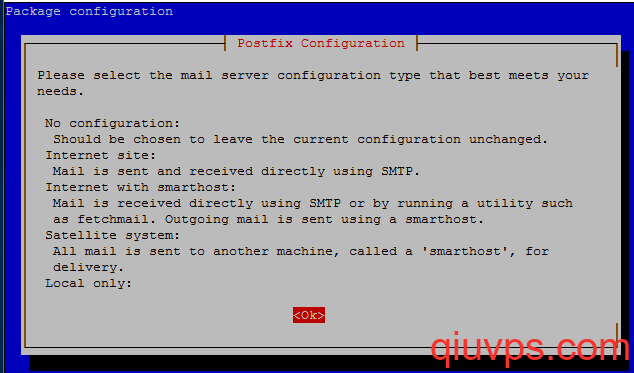
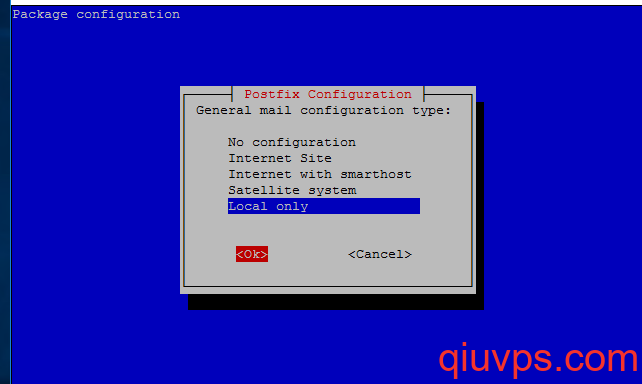
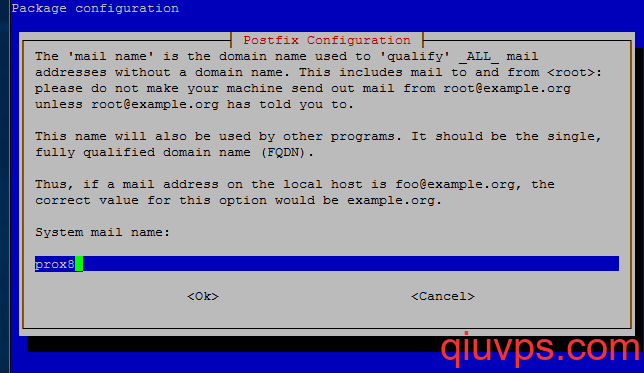
apt install proxmox-ve postfix open-iscsi chrony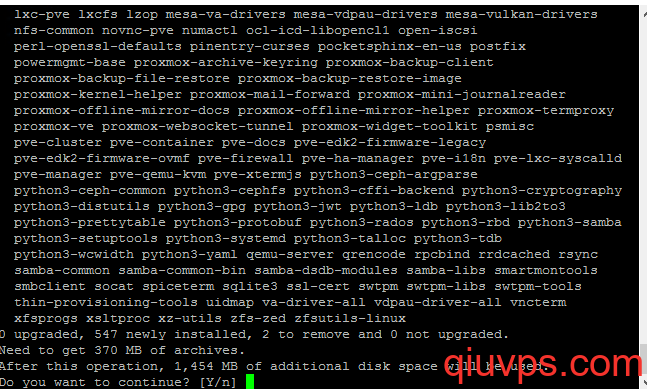
7、防止冲突,移除debian内核。更新grub
apt remove linux-image-amd64 'linux-image-6.1*'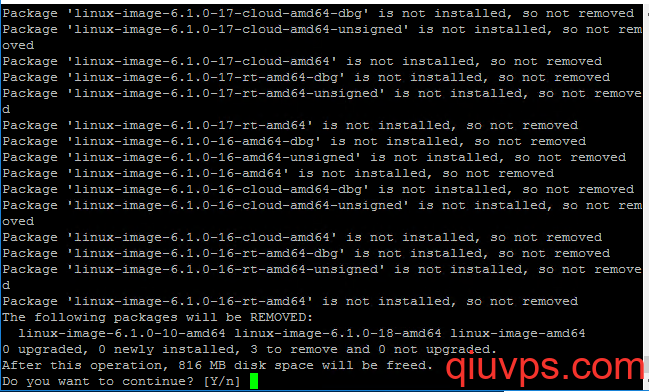
update-grub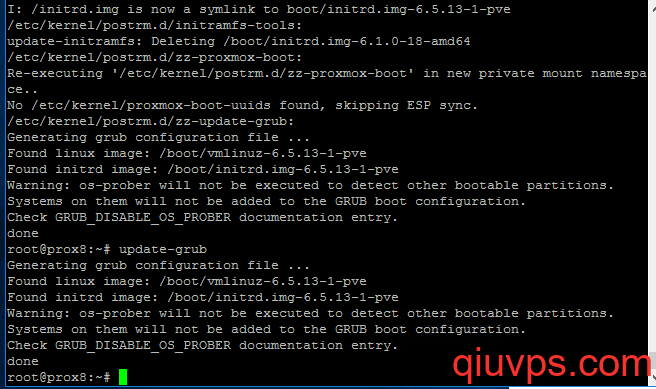
8、卸载 os-prober软件包
apt remove os-prober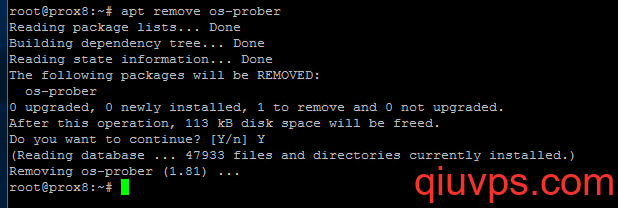
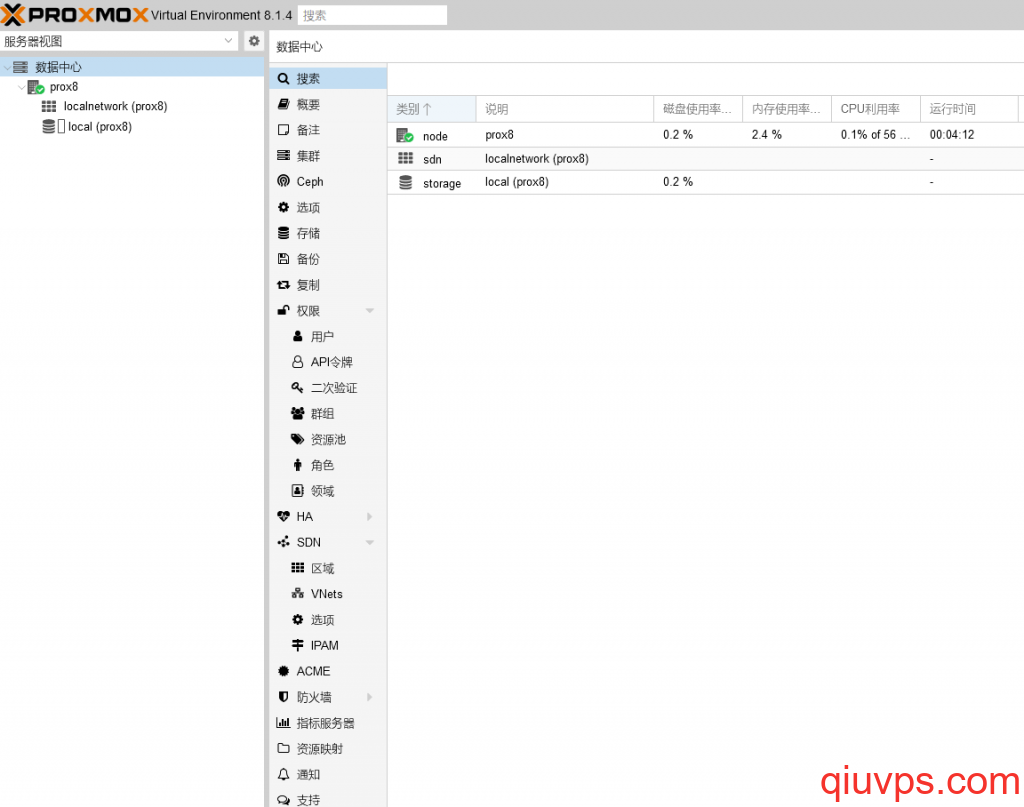
9、 安装proxmox后,重启下,然后以网页进入https://ip:8006,进入proxmox管理页面,别的百度下易秋网络曾经发过的proxmox孵小鸡教程。